Delivery included · Sales tax, where applicable, is added on the invoice
Order online
This item cannot be ordered online right now. Please request a quote and we will come back to you with availability and a delivery date.
Related containers
Popular modifications
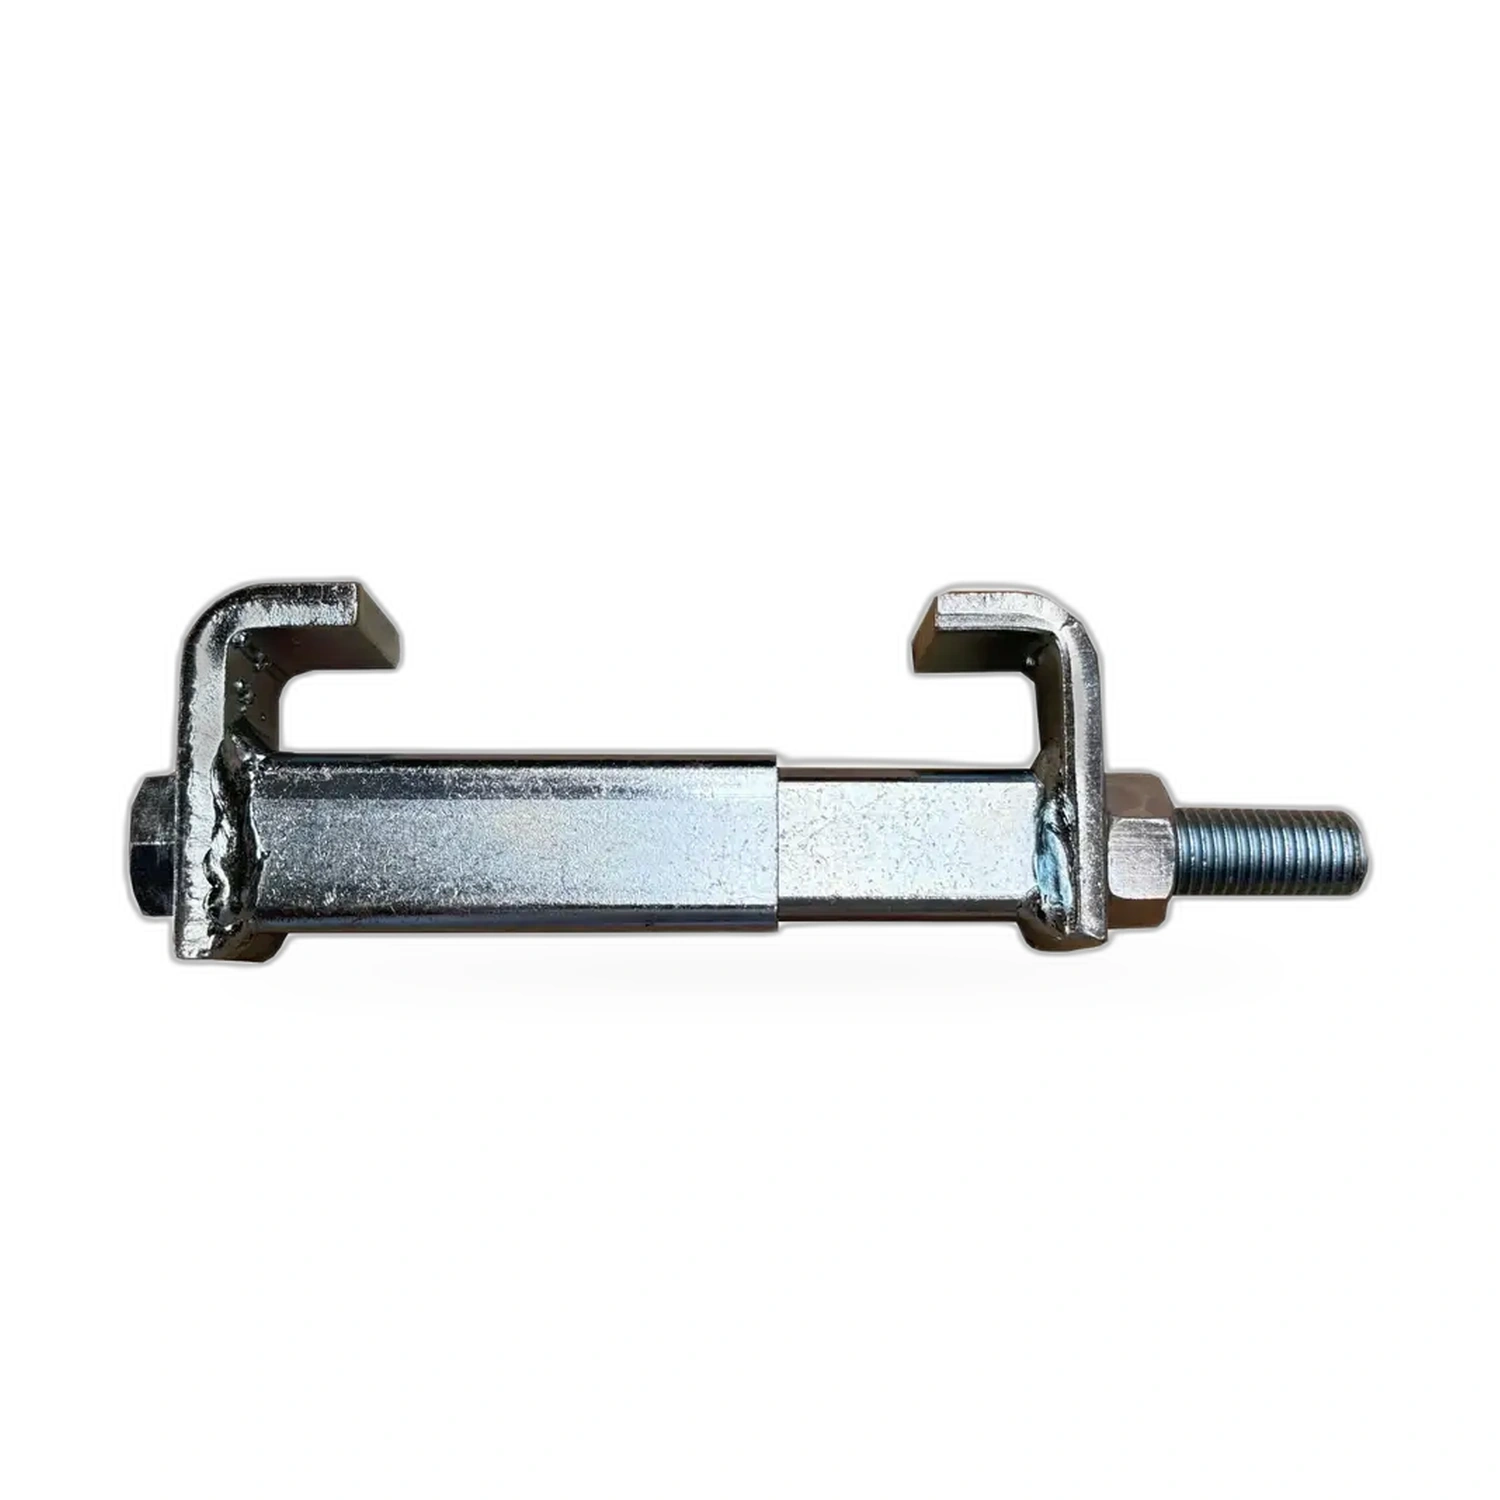
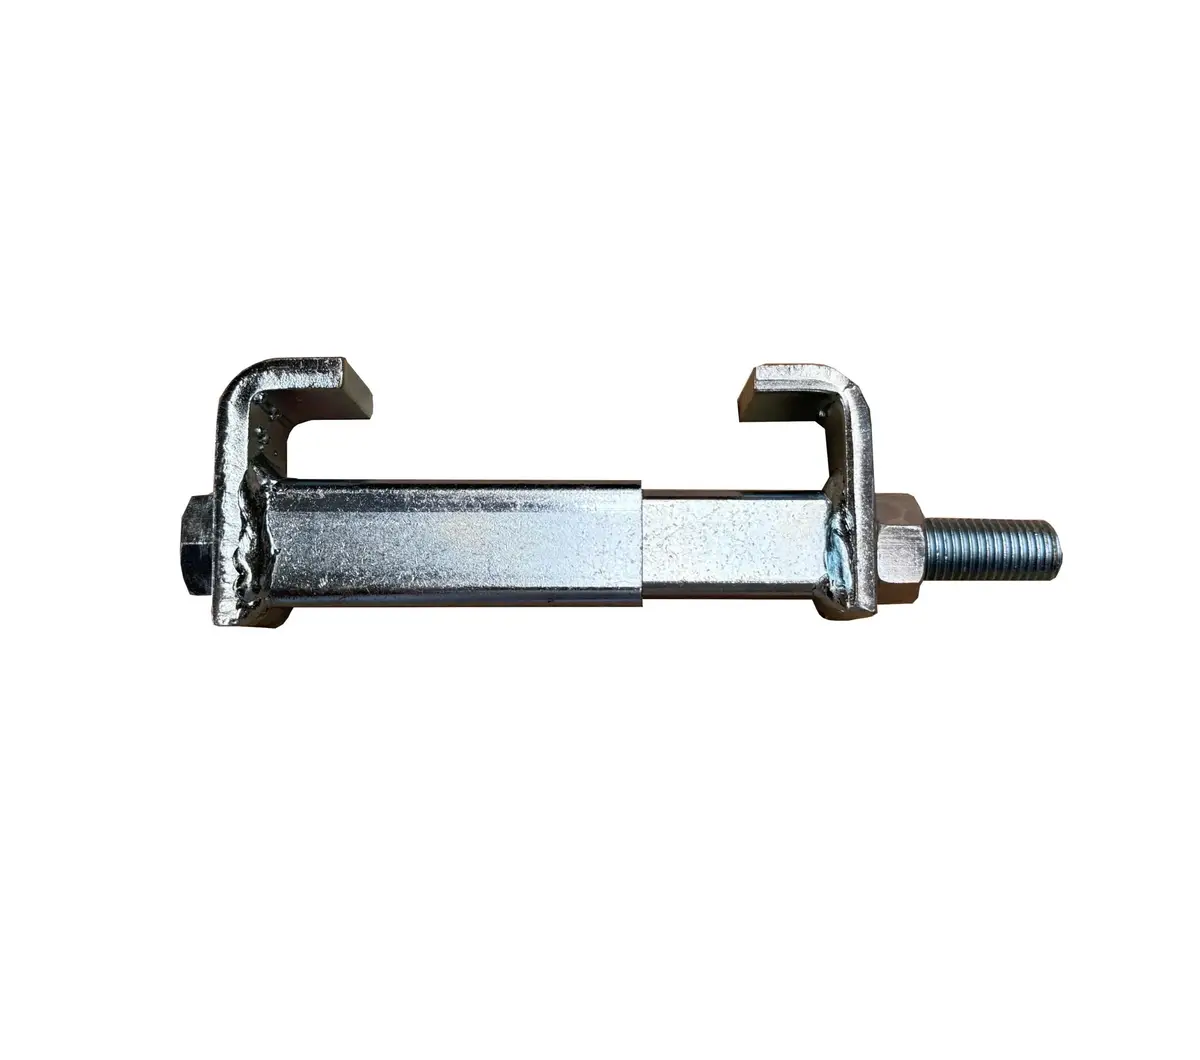
What a connecting clamp for modular containers does
When two or more room modules are set side by side to form one building, the modules are not automatically one structure. They are separate boxes standing next to each other. A connecting clamp for modular containers is the small piece of hardware that changes that. It secures units positioned close together and creates a form fitting connection between them, so the assembly behaves as a linked group rather than as neighbours that happen to touch. Its variable connecting elements hook into the side openings of the container corners, and when it is correctly installed and screwed into place at the front and rear, a statically stable connection is created that reliably prevents the containers from shifting.
That is the whole function, and it is worth taking seriously precisely because the part is small. Almost every complaint about a multi module building, doors that stop latching, a draught along an internal joint, a wet patch under a roof seam, a lip that catches a trolley wheel, traces back to modules that have moved relative to one another.
The corner fitting and its side aperture
At each of the eight corners of a container sits a corner fitting, a thick walled hollow casting welded into the frame where the corner post, the side rail and the end rail meet. It is the single most heavily built component of the box, and it is where all handling forces are meant to enter and leave the structure. Each casting presents apertures on three faces: one on the top or bottom face, one on the end face and one on the side face.
The side aperture is the opening that looks out along the long flank of the container, and that is the one this clamp uses. The choice is deliberate. Two modules standing side by side present their side apertures to each other across the joint, so a fitting that engages both is pulling directly between the strongest points of the two frames. Nothing is asked of the corrugated wall panel, the roof sheet or the fixings, all of which would deform long before the castings did. Load taken at the casting travels into the corner post and the rails, which is the load path the frame was designed around.
Why an unlinked row of modules walks apart
A container module is heavy, and heavy objects are often assumed to stay where they are put. In a modular building they do not, because the loads acting on them are cyclic rather than constant. Repeated small movements accumulate.
- Wind: a module presents a large flat flank and a large roof. Pressure on one face and suction on another push a group sideways and can lift a leeward edge slightly. Each gust nudges, and the gap at the joint widens over a season.
- Foot traffic and doors: people entering, trolleys crossing thresholds, and doors slamming all deliver horizontal impulses at floor level, which is exactly where the joint is least restrained.
- Thermal movement: metal frames expand and contract daily. Two modules that are only leaning together will creep apart, because friction lets them slide out but not back.
- Ground movement: bearers settle, frost heaves, gravel compacts under a corner. Differential settlement rotates a module in plan and opens one end of the joint.
- Vibration: nearby traffic, plant and site machinery introduce continuous low level shaking that helps everything else along.
The consequences are not merely cosmetic. As the joint opens, the roof detail and gutter over the joint are stretched beyond what they were designed to bridge, and water finds its way in. Internal linings crack at the junction. Door frames go out of square, so doors bind or stop latching. A step forms at the floor joint that is a trip hazard and a wheel catcher. Fixing all of that later is far more expensive than fitting the clamps correctly on day one.
Why the front and rear pair both have to be fitted
A single clamp at one end of a joint holds two points together, and two points connected at one place form a hinge. The modules can still rotate about that point in plan, which means the far end of the joint continues to open and close. Fitting a clamp at the front and another at the rear of the same joint creates a couple, a pair of restraints separated by a distance, and a couple resists rotation as well as translation. That is why the product is described as creating a statically stable connection only when it is correctly installed and screwed into place at both ends.
The same reasoning extends across a row. Every joint between adjacent modules needs its own pair. Skipping the middle joint in a row of three because the outer joints are clamped leaves the middle module free to work against both of its neighbours.
Why sea containers are excluded
The clamp suits common standard containers of the room module type, including office containers, sanitary containers and construction site containers. It is not suitable for sea containers, and the exclusion is technical rather than commercial.
Marine containers are built for a different duty. Their corner castings are standardised marine fittings whose geometry, wall thickness and aperture shape exist to serve stacking many units high, to accept twistlocks that carry vertical tension and compression, and to take lashing loads from rods and turnbuckles on a rolling ship. Securing at sea is done with that dedicated equipment: twistlocks between stacked units, bridge fittings between adjacent stacks, lashing rods and turnbuckles down to deck sockets, all specified as a system. A clamp designed around the corner geometry and duty of room modules is not part of that system and should never be substituted into it. Equally, the forces a sea container is expected to see are not the forces a static site building sees, so mixing the two families means putting load into a fitting outside the case it was designed for. Where site units and marine boxes both appear on a project, keep the securing equipment for each family separate and clearly stored apart.
Installation sequence
Clamping is the last step of a sequence, not the first. Trying to pull misaligned modules together with the hardware is how hardware gets damaged.
- Prepare and check the bearing points first. They must be level, at the same height and firm. A building that starts out of level cannot be corrected with clamps.
- Set the first module and check it for square and level in all directions, including diagonals across the plan.
- Set the second module alongside with a small, controlled gap, guided down rather than dragged into place.
- Align the corners in all three axes. Front and rear ends of the joint should show the same gap, and floor levels should match at the joint.
- Offer up the clamp and engage its connecting elements into the side openings of the corner fittings on both modules.
- Screw it into place, then repeat at the other end of the joint. Both ends are fitted before the joint is considered done.
- Recheck alignment, door operation and floor level after the clamps are tight, since drawing the modules together can shift things slightly.
- Only then complete the roof joint cover, gutter, junction seals and internal trims, which all rely on the gap staying where it now is.
Inspection, corrosion and spares
Clamps live outdoors at the wettest, dirtiest point of a building, low down at a joint where run off collects. They repay a short routine.
| Check | When | What to look for |
|---|---|---|
| Count and completeness | On delivery | A clamp and its screws present for the front and rear of every joint, with spares as ordered |
| Condition of parts | On delivery and before each reuse | Hooks and connecting elements undeformed, threads clean and running freely, coating intact |
| Engagement | After installation | Elements fully seated in the side openings, screws drawn up, no visible gap opening at the joint |
| Post event | After a storm, an impact or any relocation | Joint gap unchanged, doors still latching, no movement marks in dirt around the fitting |
| Routine | Seasonally | Corrosion at coating damage, debris packed into the corner fitting, screws still tight |
Corrosion care is straightforward. Keep the corner fittings and the joint clear of leaves, grit and packed dirt, because trapped debris holds moisture against the metal permanently. Rinse off road salt and de icing residue where site access is treated in winter. Touch up coating damage promptly, especially at edges and around the screw heads where the coating is thinnest. Keep threads clean and lightly lubricated so a clamp can be released without force at the end of a hire or a project, but never paint over a thread or a working face, since paint build up prevents the elements from seating fully.
How clamping fits into the wider securing system
A connecting clamp for modular containers solves one problem: horizontal separation of adjacent modules. It does not solve the others, and it should not be asked to.
- Levelling and bearing: the foundation pads or bearers under the corner fittings carry the vertical load and determine whether the building is square. This is the work that must be right before anything is clamped.
- Anchoring and ballast: resistance to wind uplift and overturning of the whole assembly is a separate question from module to module linkage, and belongs to the ground fixing or ballast arrangement.
- Roof and gutter detailing: the cover over a joint and the gutter arrangement keep water out, but only if the joint width they were made for stays constant, which is what the clamps deliver.
- Junction seals and internal trim: these close the interior and are the first components to show that a joint has moved.
- Stairs, ramps and rails: these attach to the assembly and assume it behaves as one body.
Store spare clamps and their screws dry, together, and labelled, rather than loose in the bottom of a tool crate. A relocation is exactly the moment when a missing pair is discovered, and exactly the moment when there is no time to source one. Because the design is standardised and compatible with common standard containers of the room module type, a small stock of spares stays useful across a fleet rather than being tied to a single building.
Frequently Asked Questions
Where exactly does a connecting clamp for modular containers attach?
Its variable connecting elements hook into the side openings of the container corners, meaning the apertures on the side faces of the corner fittings. Those castings are the strongest part of the frame and the point where handling forces are designed to enter it, so the connection pulls between corner posts and rails rather than loading the corrugated wall panels or their fixings.
Why must clamps be fitted at both the front and the rear of a joint?
A single clamp connects the modules at one point only, which behaves like a hinge and still allows them to rotate in plan, so the other end of the joint keeps opening. A clamp at each end forms a pair of restraints separated by a distance, which resists rotation as well as sideways movement. A statically stable connection is created only when both are installed and screwed into place.
Why is it not suitable for sea containers?
Marine boxes are a different family with different duty. Their corner castings are standardised for stacking many high and for taking twistlocks and lashing loads at sea, and they are secured with twistlocks, bridge fittings, lashing rods and turnbuckles specified as a system. This clamp is designed around the corner geometry and loads of room, office, sanitary and site modules, so it should not be substituted into marine securing.
What happens if modules are simply set side by side without clamps?
They gradually work apart. Wind pressure and suction, thermal expansion, foot traffic, door impacts, vibration and uneven settlement all push in small cyclic increments that accumulate. The joint widens, roof covers and gutters are stretched beyond the gap they were made for, water gets in, linings crack, door frames go out of square and a step forms at the floor joint.
When should clamps be fitted during assembly?
After the bearing points are level and firm, after the first module is set square, and after the second is lowered alongside with a controlled gap and aligned at both ends. Clamps are then engaged and screwed at the front and rear, alignment and door operation are rechecked, and only afterwards are the roof joint cover, gutter and junction seals completed.
How should clamps be inspected and looked after?
Check completeness and condition on delivery, check seating and tightness after installation, and check again after any storm, impact or relocation, plus a seasonal look. Keep the corner fittings free of packed dirt, rinse off de icing salt, touch up coating damage promptly and keep threads clean so clamps release without force. Never paint over threads or working faces.
Related Containers & Options
Related Products
Rubber seal for container coupling points with fir tree profile
Price on Request delivery included View Details
Container Lockbox ABUS ConHasp GRANIT™ 215 with ABUS Padlock GRANIT™ 37/55HB100
Price on Request delivery included View Details